Creating a source
Create a source on the Sources page for every application or system that contributes to data and/or accept data updates. After you create a source, you can attach the source to many models and repositories so the source can contribute data to one or more domains you’ve created (contact, account, customer, etc). If you have multiple data sources with the same name, specify in the source Name and Source ID so you can easily identify the sources later when creating integrations and stewarding data. Read Managing sources in models for more information.
Before you begin
To create a source, you must have administrator privileges or the following privileges:
- MDM - Source Management
- MDM - View Repositories
Procedure
-
Navigate to the Sources page.
-
Click Create a Source or Create Your First Source.
-
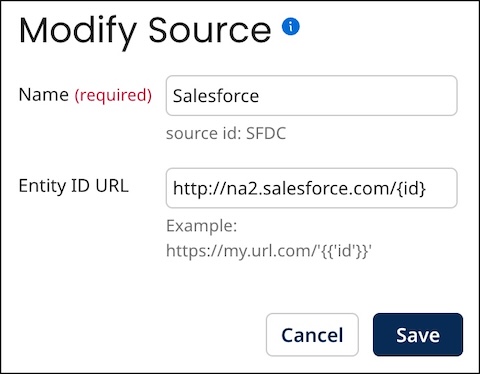
In the Name field, enter an identifier for the source. For example, Salesforce. Names can be a maximum of 255 characters.
-
In the Source ID field, enter a permanent, unique ID for the source. This is typically an abbreviation, such as SF for Salesforce. Source IDs can be a maximum of 50 characters. Allowable characters are uppercase, lowercase letters, numbers, underscore, and hyphen.
noteThe Source ID is used when setting up integrations, specifically in calls to the Repository API endpoints. It is case sensitive. After creation, you cannot modify it.
-
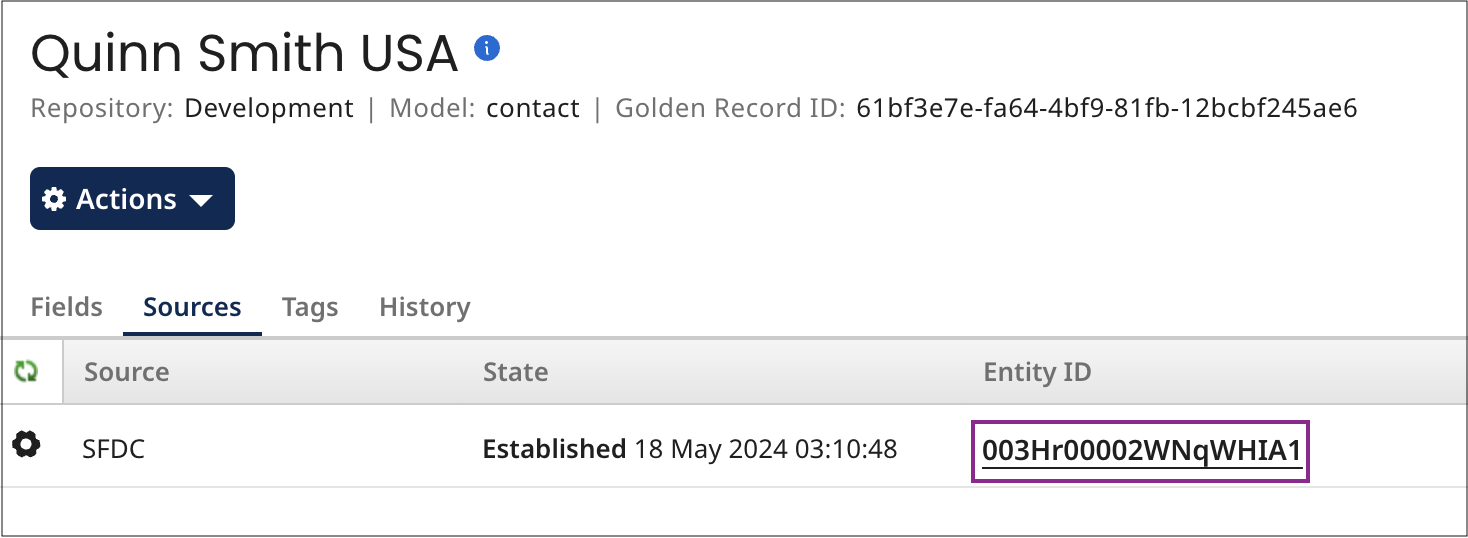
Optional: If the source system supports direct links to data entities, enter the source’s URL format used to create source links. In the URL add the
{id}placeholder so Boomi Data Hub can insert the specific record id. For example,https://na2.salesforce.com/{id}. After you deploy a model and you generate golden records, you can view a link to the source’s record from the golden record in the Sources tab of a Golden Record (Stewardship > Golden Records).noteURL templates specified in the Source tab for individual deployed models override any template specified here. This is useful in the cases of source systems supporting linking using a different URL format for each object.
-
Click Save.
Next steps: Create a model and attach sources. After you deploy a model, you can review the status of the source attachment on the Sources page. Read Viewing source attachments for more information about source statuses.
